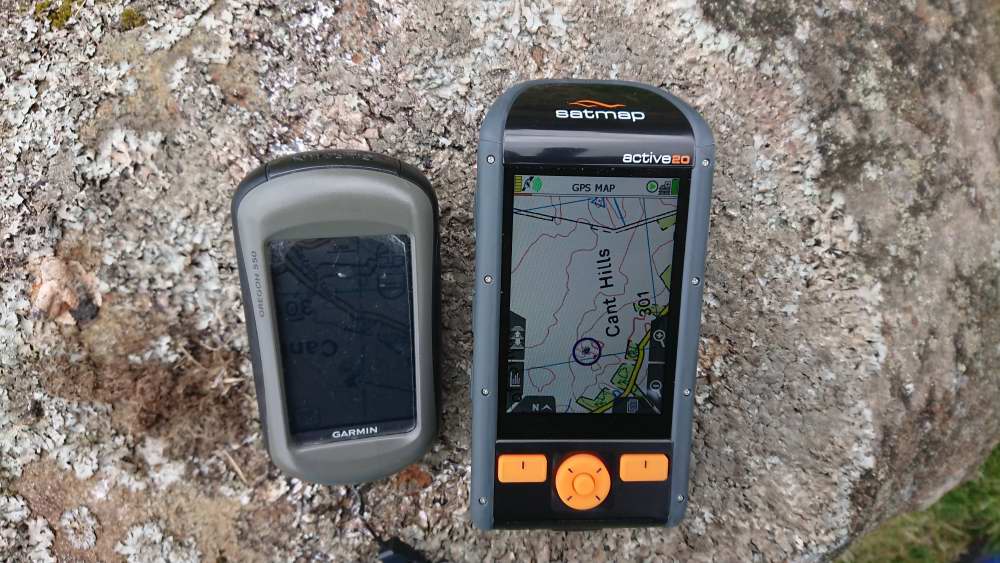
I had been using Garmin GPS units for many years, going back to my first one, the ubiquitous yellow and black Etrex which I believe I started using around 2005. Many years and models later and I’ve finally made the switch to Satmap, for a number of reasons. The rubber on my old Garmin had perished (specifically the on/off button) and they don’t repair it. Additionally they no longer support that model, the Oregon 550, so even if I could patch up the rubber it’s now no longer compatible with updates. Garmin did offer to do a trade in for my old model, giving me 30% off a new one, so I began searching and comparing units. One other factor which now came in to play is my eyesight. I’ve been using reading glasses for some time (the joys of getting older) so I really wanted something BIG and easy to read. I knew that Satmap units had a larger screen, so, with the aid of a generous discount offer I picked one up last year – just in time for lockdown! I’ve now had the chance of using it for around 12 months, so what’s it like?

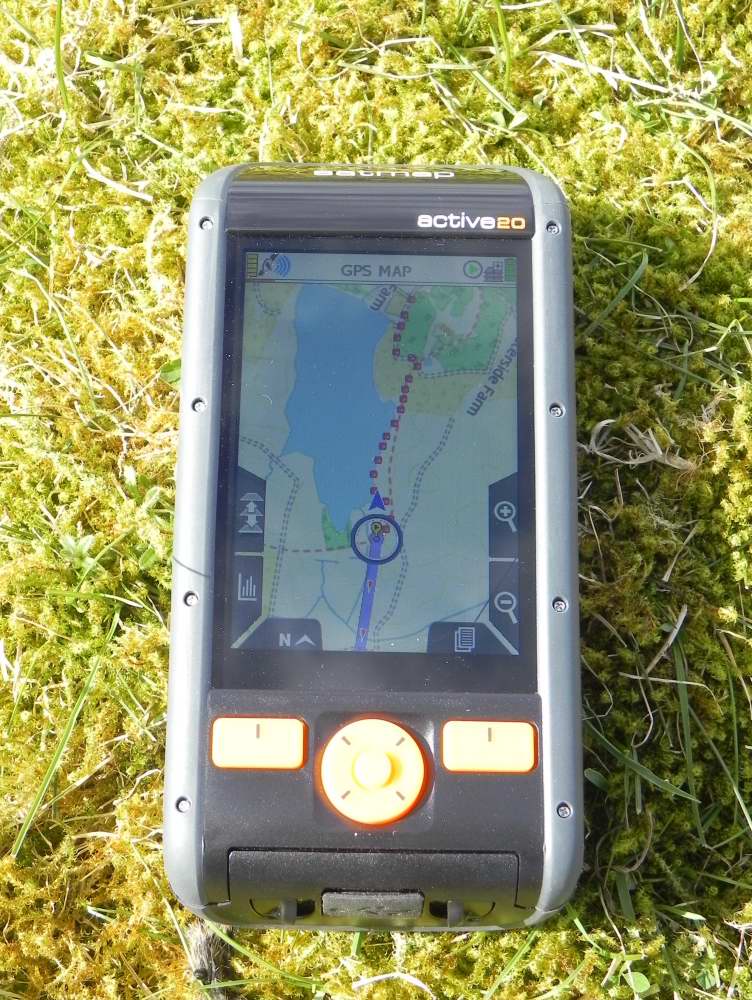
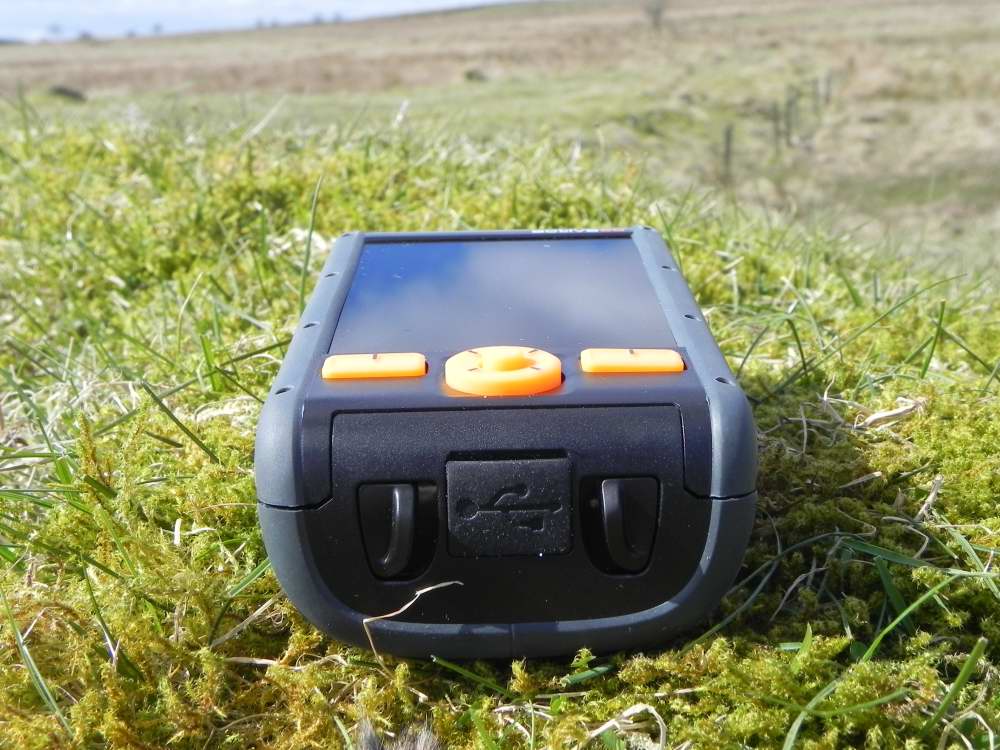
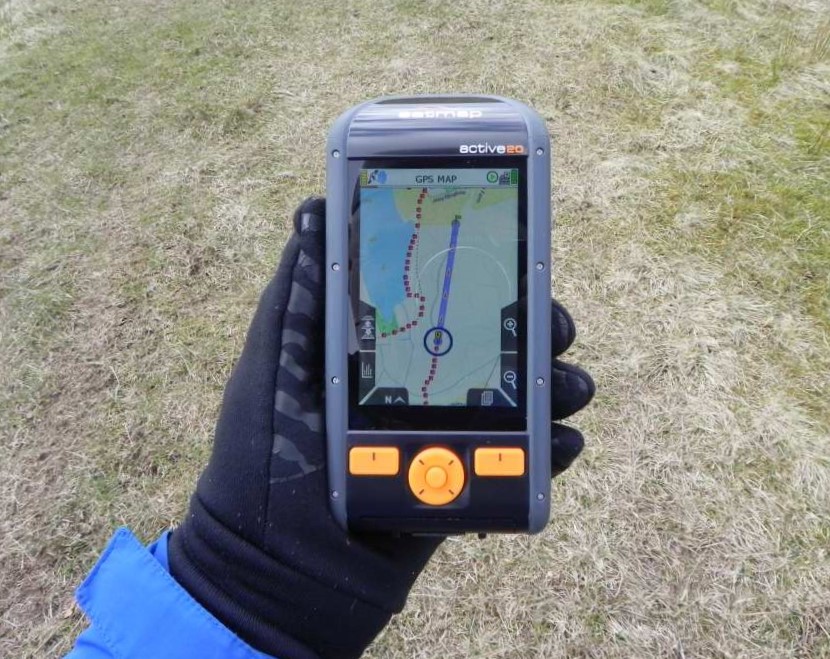
The first thing that you will notice is the screen. It’s huge. It’s a touchscreen HD display, with toughened glass, so it’s still readable without my glasses (for now). It has two buttons on the front in addition to the central rocker switch which replaces the old joystick on the original Satmap. There are more buttons on the sides (another 6 in total), which all replicate operations which can be carried out on the touchscreen, meaning it can be operated with gloves on in cold or wet weather. To support such a large screen the unit itself is fairly large too, in fact it’s one of the heavier models on the market. That weight means this is not a flimsy unit, in fact it’s very robust. It’s shockproof and waterproof too, something that can’t be said about many smartphones which really can’t compare with a dedicated GPS unit like this. Another factor which contributes to the weight of the unit is the battery which is pretty big and has an advertised life of 16 hours, giving the security of knowing that it will probably last for a full day in the hills with some juice to spare. Spares are now available including a standard AA adaptor as well as a straight replacement, however if you don’t anticipate having to do a quick change and are looking for a way of recharging at the end of a multi day walk then a solar charger or more reliably a powerbank might be the better option.

With a large patch antenna and its ability to synchronise with GPS, GLONASS and GALILEO satellite systems the units accuracy is very good, and combined with the HD screen and mapping this gives a very good, easy to read unit for on the move hillwalking . The touch screen/button combination works very well and allows for fast scrolling of maps and selection of waypoints to go to. I bought the unit directly from Satmap and they can do some good money saving offers from time to time, so it can be worth keeping an eye on their website and watching for something coming up. You can buy various packages and I bought one with the GB Whole 1:25,000 map card, only to discover that it wasn’t Ordnance Survey mapping, however Satmap were kind enough to change this to OS 1:50,000 mapping at no extra cost. You can buy all the maps you need at once or upgrade over time, so if you have 1:50k maps and want to add 1:25k you can either buy a new one and change the micro SD cards in the field as required, or I believe if you return your current map card then Satmap will add that to your new card, the data being locked so you can’t actually transfer them yourself.
Where the unit does fall down in my opinion is in the ability to insert waypoints or Points of Interest (POI) in Satmap speak using grids. From the comfort of your own home you can use mapping software to create routes and waypoints and export them as GPX files to the unit where they can be readily accessed. I’ve tried Memory Map, Ordnance Survey and Satmaps proprietary Expedition 2 software to do all three with equal ease. The free Satmap version has basic (although surprisingly detailed) street mapping for route planning, but this can be upgraded to their premium version which I assume allows you to plan on OS maps. So far, so good. However if you want to create a POI in the field using co-ordinates it becomes pretty complicated, requiring multiple selections of menu and sub menu to create, name and edit one single POI. This does make it not entirely suitable for Geocaching, but not impossible. With a lot of time and effort you can get familiar with the process, however time away from the unit can see a level of rustiness creep in. A dedicated POI button taking you to a screen where you can enter co-ordinates, rename and edit all in one place would not go amiss here. Which leads me on to the screens.

This is by no means a simple unit to operate, certainly not if you are unfamiliar with the system. In fact, as familiar as I am with GPS units and their use, I found this a challenging piece of equipment, and still do to some extent. The user guide runs to 97 pages and I would advise that you print it out and spend some time with it if you want to get the best out of this device, and that you take the unit out and repeatedly practice before taking out for serious hill use. That’s not to say you require a degree to operate it, but it takes getting used to.
The unit has 10 Primary screens, from which all operations can be carried out, and these can be cycled through in a set order. From these primary screens you can then access other screens to access information and edit POI’s. You can go into the settings and remove some of these screens, but you can’t change their cyclic order, a minor bugbear if you regularly only use a few of the screens. On each screen is a circle icon at the bottom left, meaning you can jump directly to the GPS Map screen without having to scroll through the others.
The Primary Screens are:
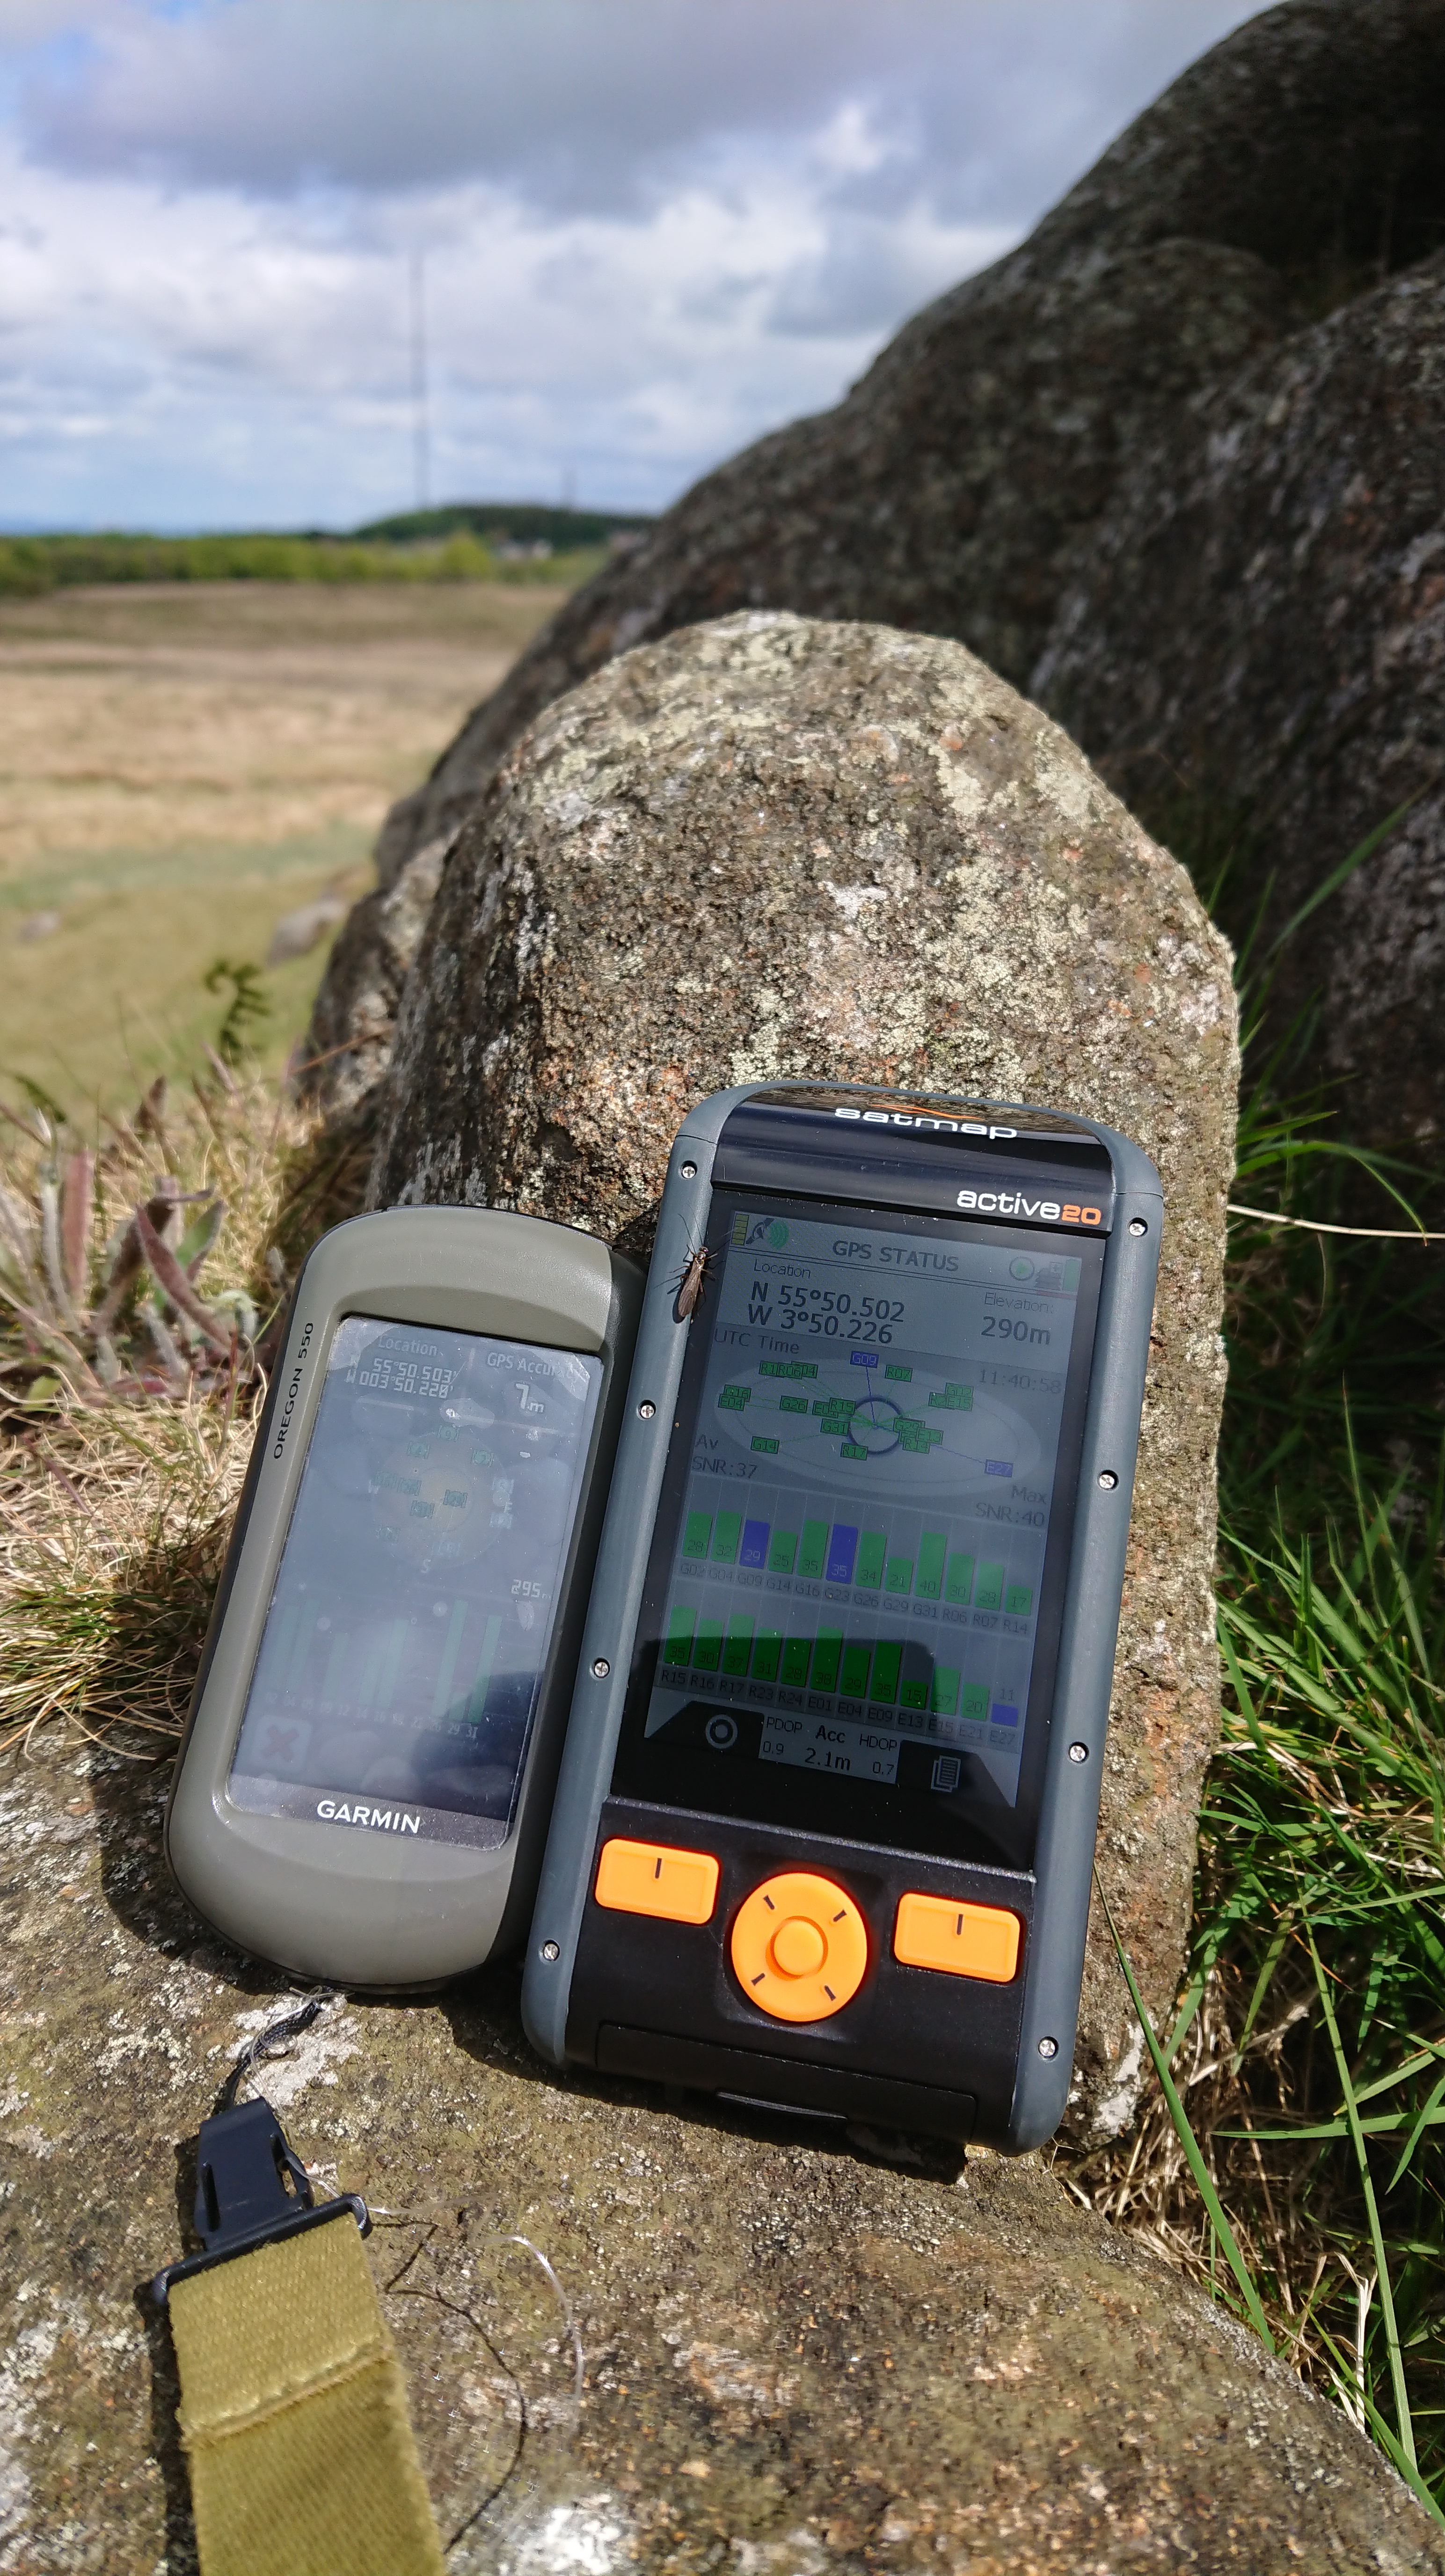
- GPS Status: Displays satellite availability, connection strength and accuracy.
- GPS Map: Current active map with your position and data boxes (if required)
- Planning: Nudging the rocker pad activates this screen which allows panning and zooming of the map and creation of POI/GoTo markers.
- Position Info: Shows current position and allows for the creation of POI/GoTo markers.
- Trip Log: 12 Editable fields showing information such as trip distance, trip time, sunrise, sunset, speed and battery level. This also controls the track log and shows a profile of the current activity (distance and elevation).
- Main Menu: Shows the current map in use (the “active” map), any active route, and gives access to the Object of Interest menu.
- Search: Allows you to search a directory of places and hills/mountains. This requires you to download directory’s to the device.
- Compass: 3-Axis electronic compass and a GPS heading compass, which can be toggled to a pointer compass when a POI or similar has been activated.
- Wi-Fi Networks: required to install updates and can be used to transfer data from Satmap Expedition 2 route planning software.
- Shared Data: The unit can be connected to a limited selection of bluetooth devices such as heart and cycle monitors.
Accessories including carry cases, bike mounts and batteries are available. With it being larger than previous units you might find that you can modify older cases to hold this unit, should you have them. Otherwise you can buy a new case, but a word of warning – the belt loop is really large and not suitable for many thin belted rucksacks. You might find that other brands of case are capable of holding the unit and are more practical.
My views of the unit are overwhelmingly positive but it is not without minor niggles. I often find that the battery unit is difficult to remove without exerting some pressure on a relatively thin piece of plastic, something which can be incredibly difficult, almost requiring three hands! On the plus side it’s highly unlikely to inadvertently detach itself. This could possibly be down to a minor issue with a thin aluminium sheet cover on the battery catching on the main body (I removed it and found no problems getting the battery in and out, but have replaced it as it is clearly there for a reason. Once inserted the battery appears to sit slightly proud of the main body, giving the appearance of a gap, but I’m assured by Satmap that this is normal and the seal design prevents ingress of water. While I haven’t lost the rubber seal on the charging port it is extremely flimsy ( spares are supplied) and it does let down the overall presentation.

All in all this an excellent unit which should give years of service. For walking, hiking and mountaineering it does everything you want, in all weathers, in all conditions- all day. Watch out for offers to save a few pounds and you’ll have one of the best units on the market and a bargain to boot!